The Day I Finally Got That Tarot Drone in the Air
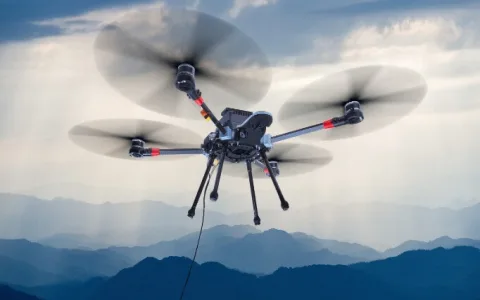
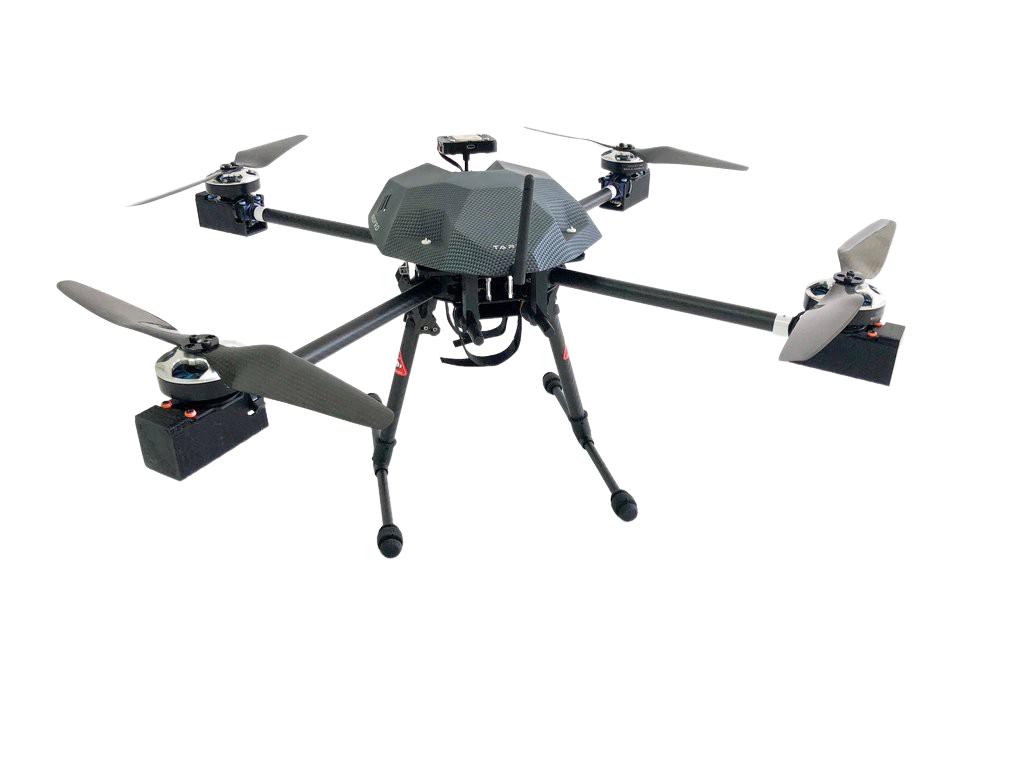
Man, okay, so I finally caved and bought that Tarot drone everyone’s buzzing about. Ripped open the box like a kid on Christmas morning. Looked slick, all folded up neat. First thought? “This seems easy enough.”
Grabbed the controller next. Way more buttons and dials than my old cheapo one. Felt kinda serious holding it, honestly. Pulled out the instruction manual – yeah, I actually tried reading it. My eyes glazed over after about two sentences talking about “frequency” or whatever. Tossed it aside. Figured, how hard could it be?
Hunted for the battery next. That thing was hiding! Found it tucked away in its own little foam slot. Slipped it in the drone’s belly – heard a satisfying click. Then, grabbed the controller itself. Popped its own batteries in the back. Flipped the power switch… nothing. Zilch. Nada. Panic started to creep in for a sec. Brain freeze moment. Oh right! You gotta charge the drone battery FIRST. Dumb human move. Plugged that sucker into the wall and basically glared at the charging light for half an hour.
Green light! Finally. Stuck the charged battery back in the drone. Turned the drone on first – heard a bunch of beeps and watched the lights do a little dance. Then turned the controller on. Success! The controller screen woke up, chirped at me. Relief! But still not flying.
Ah, the calibration. Remembered something about that from the doom-and-gloom manual I ditched. Found the option buried in the controller menus. Basically told it, “Yo, drone, this is level ground right now.” Made sure it was sitting dead flat on my kitchen table. Punched the button to start the calibration. Watched it spin slowly, lights blinking like crazy. Held my breath. Took maybe ten seconds. Then… the screen said “Calibration Success”. Phew!
Okay, time for lift-off. Nervous excitement! Slowly, slowly pushed the left stick (the throttle) up… The motors whined, getting louder. Suddenly, it just hopped off the table and hung there, wobbling maybe half a foot up! Seriously cool. Let it hover for a sec. Didn’t fly around just yet, just tested the controls gently to see how it responded. Felt pretty steady!
Later, took it outside to my back yard. Big mistake number two! Hit the auto-takeoff button because, why not? Shot up way too fast into the wind. Instinct kicked in – slammed the “Return to Home” button. Heart in my throat! Watched it zoom back towards me, getting lower. Then, about 20 feet away, it stopped dead in the air. Totally confused me. Then I realized – downward vision sensors. It saw my patio chairs as obstacles! Had to fly it manually the last little bit. So key thing: Know where you told it ‘Home’ is, and know its sensors stop it from crashing into things automatically, even your landing spot!
Played with the camera next. Button to flip it up and down, which is neat. Took some photos. Then hit record. Seemed to be working. But wanted to see what I was filming live on my phone! Pulled out my phone, opened the app, spent ten minutes trying to connect it to the controller’s WiFi. Kept disconnecting. Finally, boom, a live feed popped up! Getting the phone properly tethered to the controller for the FPV feed is non-negotiable if you wanna see what you’re filming. So much easier once that little video window is showing what the drone sees.
Biggest thing I learned messing around?
- Charge everything first. Obvious, but still.
- Calibrate on LEVEL ground every time. Seems tedious, stops crashes.
- That Return-to-Home button saves your butt, but test it low first to see what your drone does around your landing zone.
- Figure out the phone app connection BEFORE you fly out of sight. You wanna see that view!
It’s a fantastic bit of kit, honestly. Way more capable than I am right now. But figuring out those essential bits? Makes all the difference between it being a cool paperweight and something amazing you actually fly. Took some trial and error (mostly error), but hey, that’s the fun part!