Man, let me tell you about the time I decided I wasn’t shelling out seventy bucks for a deck of fancy cards. I just wanted to see what the whole Tarot thing was about, right? Didn’t want to commit to some high-end, velvet-lined box set just to realize I was hopeless at reading them. My goal was simple: find a way to print off a full, decent-looking set for basically nothing. That’s when this whole journey started, and it turned into way more of a hassle than I ever planned.
The Great Search for Free Files
I started off like anyone else. I hammered simple phrases into the search bar: “free printable tarot,” “public domain deck scans,” you know the drill. And let me tell you, that was a swamp. I kept hitting these sites that looked promising but were just covered in ads, or they’d show you a tiny, blurry thumbnail and then hit you with a paywall. I wasted a good three hours just clicking through junk that was either super low resolution or incomplete. I nearly gave up right there.
But I dug in. I hate getting beaten by a simple download. I started searching through old forums, the real dusty corners of the internet where people actually talk about their projects instead of trying to sell you something. That was the breakthrough moment. Some dude in a thread from 2012 was talking about how he found these high-res scans of an older deck, the kind that had fallen into public use years ago. He mentioned checking out these digital archives, places you wouldn’t normally think to look for something like this. Not commercial sites, but more like academic projects or personal art blogs that just stayed online for decades.
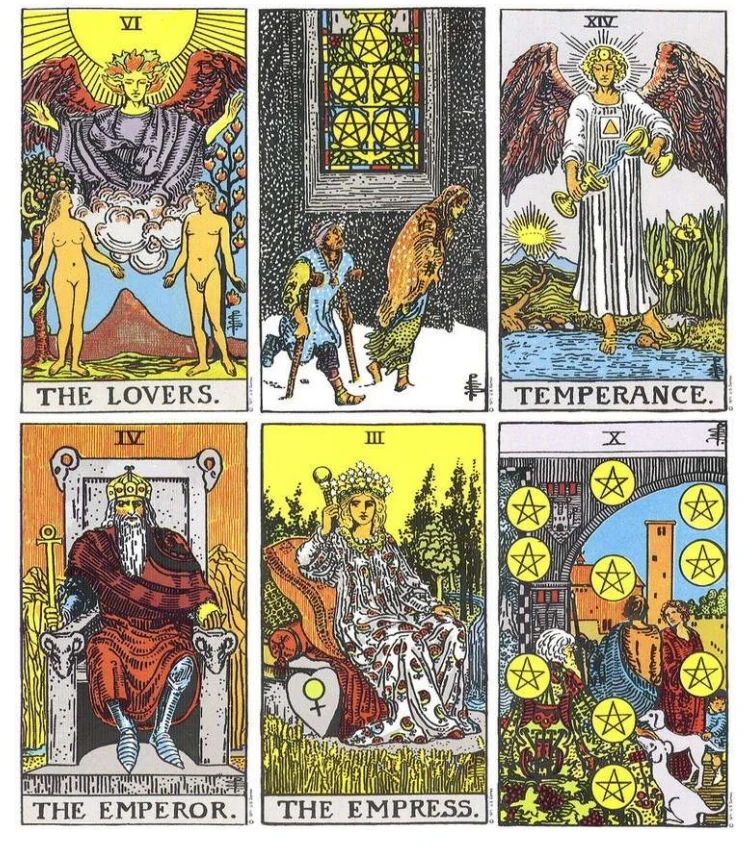
I tracked down a couple of those archive-style sites. It took a while to navigate their ancient menus, but finally, I found a couple of sets that looked clean and complete. One was a full seventy-eight card Rider-Waite style deck that some artist had painstakingly cleaned up and saved as a PDF. The other was an even older, more esoteric-looking deck, saved as individual high-resolution JPEG files. I didn’t care which one I used; I just wanted something solid. I downloaded them both, zipped them up onto my machine, and felt that little rush of victory. The hard part, I thought, was over.
The Home Printer Disaster
Nope. The hard part was just starting. Next up was the printing itself.
I made the classic rookie mistake and tried printing the first test sheet on standard printer paper. It was a disaster, obviously. You could read the text from the back of the sheet, and the whole thing was floppier than a dollar store pamphlet. That was forty cents of ink wasted.
I immediately drove down to the office supply store and grabbed a big pack of 110lb white card stock. You need that heavy stuff if you want them to feel like actual cards. I got home, loaded up the tray, and crossed my fingers. My cheap, old home printer absolutely hated the card stock. It jammed on the first sheet, then it smeared the ink on the third. I spent a good half hour gingerly pulling thick paper out of rollers and wiping off little smudges.
Then came the alignment issue. You can’t just print the fronts, flip the whole stack, and print the backs. It never lines up right. I had to manually print the fronts of four cards, wait for it to dry, flip just that sheet in the correct orientation, print the backs, check the alignment, and then do a test run. I must have wasted fifty sheets of that expensive card stock just trying to figure out which direction to feed the paper back into the printer so the backs lined up with the fronts. It was a serious, frustrating trial-and-error session that chewed up my Saturday afternoon.
The Final Tedious Cut
Eventually, I had all seventy-eight cards printed and mostly aligned, sitting in a huge stack on the table. They looked pretty good, honestly. Nice color saturation, nice weight to them. Now, I just had to cut them out.
Seventy-eight cards. Four edges each. That is a lot of straight cuts. I started with a pair of sharp scissors, thinking I’d just carefully trim the border. That lasted about two cards before I realized the edges looked wavy and pathetic. No way was I doing that for 76 more.
I went out to the garage and dug up the old guillotine paper cutter that my wife used for craft projects. That was the ticket. I spent another hour and a half, carefully lining up the border of each card, clamping it down, and bringing the blade down. Snick. Snick. Snick. Over and over. I had to go slow and be super precise to keep the white borders even. My back was hurting, my eyes were burning, and I was covered in tiny paper trimmings by the time I was done.
I even tried laminating a few of them just to give them that slick, professional feel, but that just ended up making the cards too thick and they kept sticking together when I tried to shuffle. I gave up on that quick.
In the end, I had a full deck. It was totally useable for practice. Was it “free”? Absolutely not. I blew through half an expensive ink cartridge, two hours of driving around, and about five hours of pure manual labor. But hey, I proved that the files are out there if you know where to dig and you’re willing to put in the serious effort to make them usable. It was a good project, but next time, I’m probably just hitting the ‘buy now’ button on Amazon.